NOTE: This document is meant to be a guide. It assumes the reader has knowledge of, and experience in, building real-time environments with Multigen.
NOTE2: This work was done at the CCAD at the University of Iowa.
EVALUATION PROCESS
Look at intersection and determine if any parts are symmetrical. If two arms are, remember to build and texture one before duplicating and mirroring it to make the other. However still create the layout below for the entire intersection before you start. You can mirror the construction pieces too-- just make sure the dimensions add up at the end.
While constructing the intersection, put polygons of the same object in their own object in the hierarchy-- sidewalk polygons in one, asphalt in another, etc. If there are too many for one object, make each object relate to one area of that piece (sidewalk south parts, sidewalk west parts, etc.) Ranges work most efficiently when the polygons they control are in the same region.
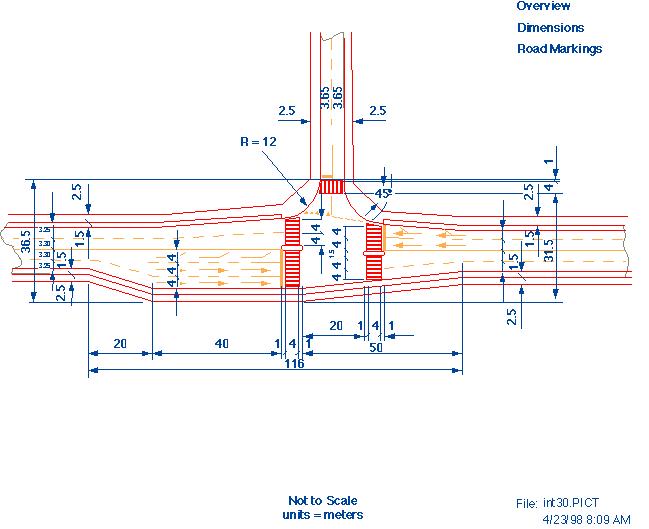
CONSTRUCTION
1. Lay out a few polygons that represent the basic dimensions of the intersection. Make sure that all the dimensions are as specified. The person drawing the spec quite possibly made a mathematical error. The sooner an error is caught (theirs or yours) the better. Remember the drawing isn't necessarily to scale, don't measure lines.
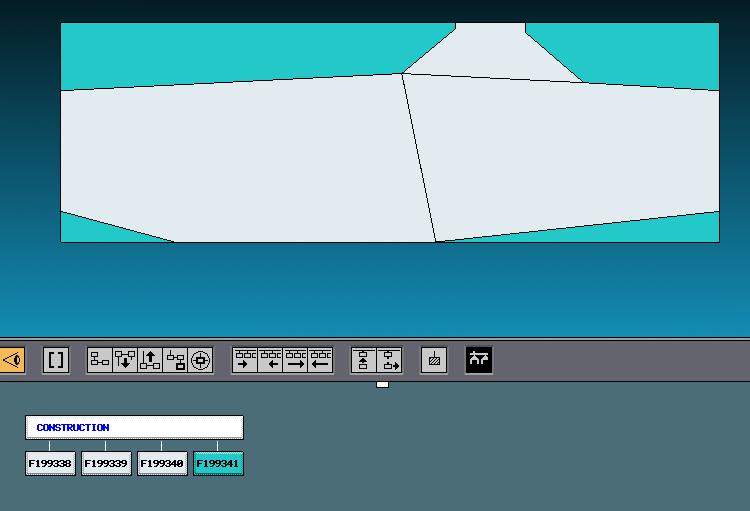
2. Lay out more "construction" polygons that represent the straight segments of sidewalks. It helps to use different, bright colors to represent the different areas you are measuring (make the overall layout polygons in step #1 white, the ones that will be where sidewalks are red, etc.) Continue making these polygons for the islands, crosswalks, and lanes so you know that the lane widths fit perfectly between your sidewalks, etc. They should if your calculations were correct from step one. Make sure the dimensions for the middle of the intersection add up as well.
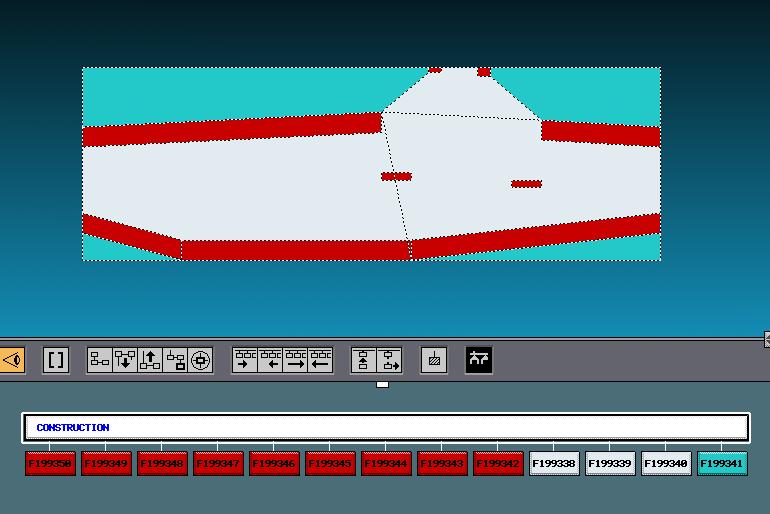
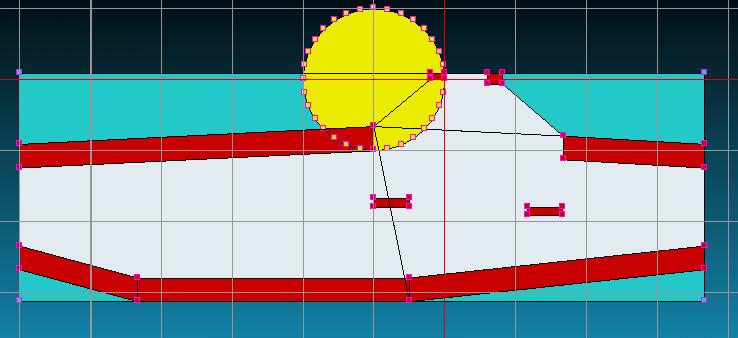
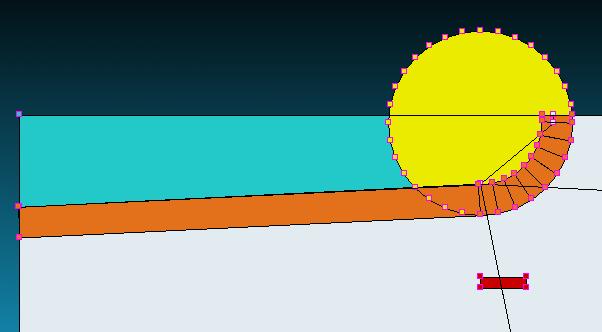
3.Create circles of the proper radius and # of sections (the bigger the radius the more sections you'll need for a smooth sidewalk). Move the circle so it is at a tangent to one of the sidewalk construction polygon inner edges. Then slide it along this edge until it appears to be a tangent to the other piece of sidewalk as well (look very closely.)
4. Turn Vertex Large on and use the stripface tool to create sidewalks using the points of the sidewalk construction polygons and circles. Extrude the stripface polygons to the proper sidewalk height and delete all polygons created that would not be seen from the road. The sidewalk polygons should go in their own object or set of objects. To texture the sidewalks smoothly, use the stripface tool again to create textured pieces the full length of the road following the outside edges of the sidewalk.
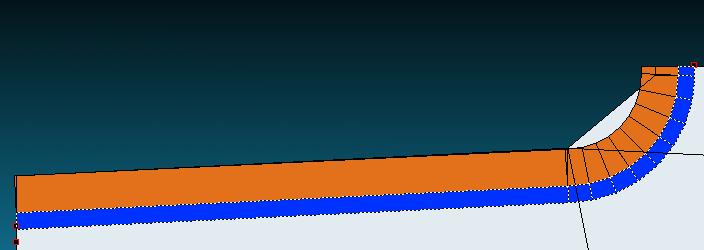
5. When all the sidewalks are done use the stripface tool again to create the road splines. If you are creating a spline that goes through lanes of different widths, you will have to scale the points along one axis so the spline defines the middle of each lane and still has a smooth curve. Rebuild this set of stripface polygons as a single polygon with only the points that define the spline-- lay these points down in the direction that the spline travels. Use the Pathgen tool (not in Multigen) to extract the points.
The following is a picture of a spline coming from the north arm of the intersection turning right.
Adjust any of the vertices of the actual untextured sidewalk pieces if necessary and then reference or attach the texture beads from the new stripfaces to the ones that are sidewalk-sized.
6. Model and texture the islands and crosswalks.
7. Lay out construction points and accurate construct stripes using the stripface tool. If you need broken lines, use the same method and delete the pieces you don't want afterwards.
Paste in arrow geometry from another file. If these are not already created, create, make them separately in another file for to re-use later.
Create Shark's teeth and whatever other markings are necessary.

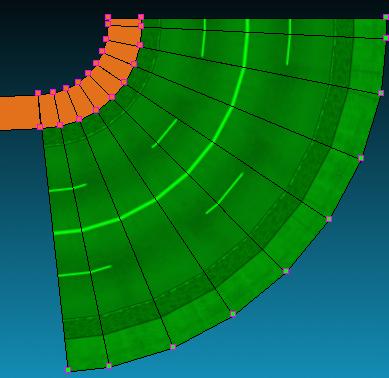
8.LODs. The curving parts of the sidewalks can go to a LOD that is far less smooth in a very short distance. This will reduce the polygon load by perhaps two thirds. Islands can do the same. Use a circle with less sections to create points for a new, simpler stripface curb.
Broken lines can turn into a single line. Shark's teeth can turn into a single line that is somewhat thinner than they are. Arrow can have fewer polygons but still represent the basic shape. Crosswalks should be a part of the same object as the asphalt and probably won't need an LOD. Everything needs the same texture at all LODs!
9.Determine where features will go, place construction points to mark these places. Create efficient relate structure for these features.
10.Paste in the features like signs, traffic lights, street lamps, etc. These should have already been created in other files complete with LODs you can tweak if necessary. Pasting these in last make the intersection file easier to work with when constructing the geometry.
11.To further reduce polygon count, use the sphere record attribute in the cells of the traffic light faces. To do this follow the directions below.
| Change your cell's outer range to 1 and include the number you really want the cell to transist as the radius of the sphere record. This has been proven to work for nested sphere records. This should really help reduce the polygon count while in the intersections since we can now make traffic light ranges specific to the traffic they face (thus the lights themselves stay at the low level of detail when the driver is driving behind them.) |

The finished product will be a complex yet efficient intersection.
*This document was written and implemented by Rachel Nador.