Diffuse light comes from a light source, such as a point light, a spot light, or a directional light (like the sunlight in VTP). Ambient light comes from all directions. You can think of ambient as the intensity on the part of an object that's not facing toward the sun.
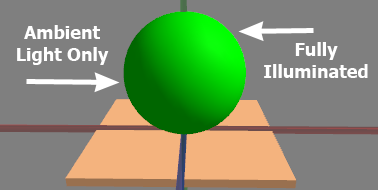
OpenGL's lighting model is additive, meaning that the ambient+diffuse (+specular hightlights, if you have them) all add up to the color you see. Here is how the scene above adds up:
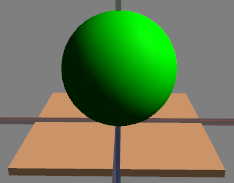
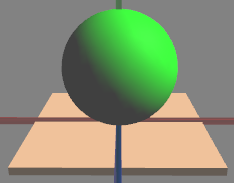
 Ambient |
+ |
 Diffuse |
= |
 Total |
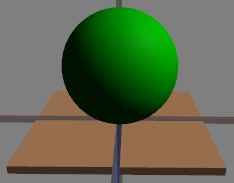
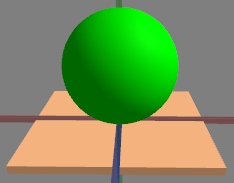
Blender doesn't deal with ambient light this way. You will find no "ambient" slider in the Blender Material UI. Hence, there is nothing for the exporter to export. Since the great majority of real-world objects simply look darker when turned away from the sun (for example, a light green ball is dark green in the shade), it's a reasonable approximation to consider that ambient is a scaled-down version of diffuse.
The ratio of ambient to diffuse is somewhat subjective, just so long as they sum to the full intensity. For example, you could use a 1:1 ratio (0.5 ambient, 0.5 diffuse) which would produce less dramatic (but potentially more realistic) shading. In some situations, you might even want ambient+diffuse to exceed full intensity, which OpenGL will clip for you (to 1.0 1.0 1.0 maximum.) In the VTP software, which deals primarily with outdoor scenes on a landscape, a 1:2 ratio has worked well.
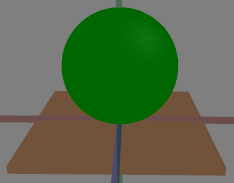
If you did not set the Ambient button in osgexport, and simply set Blender's diffuse color to the full intensity, you would have an object which is black on the shady side (which might be accurate in a large dungeon, lit by a single torch) or worse yet, depending on scene graph state inheritance, you might get OSG's default ambient grey (which makes no sense at all on an object that isn't grey):
|
|
|